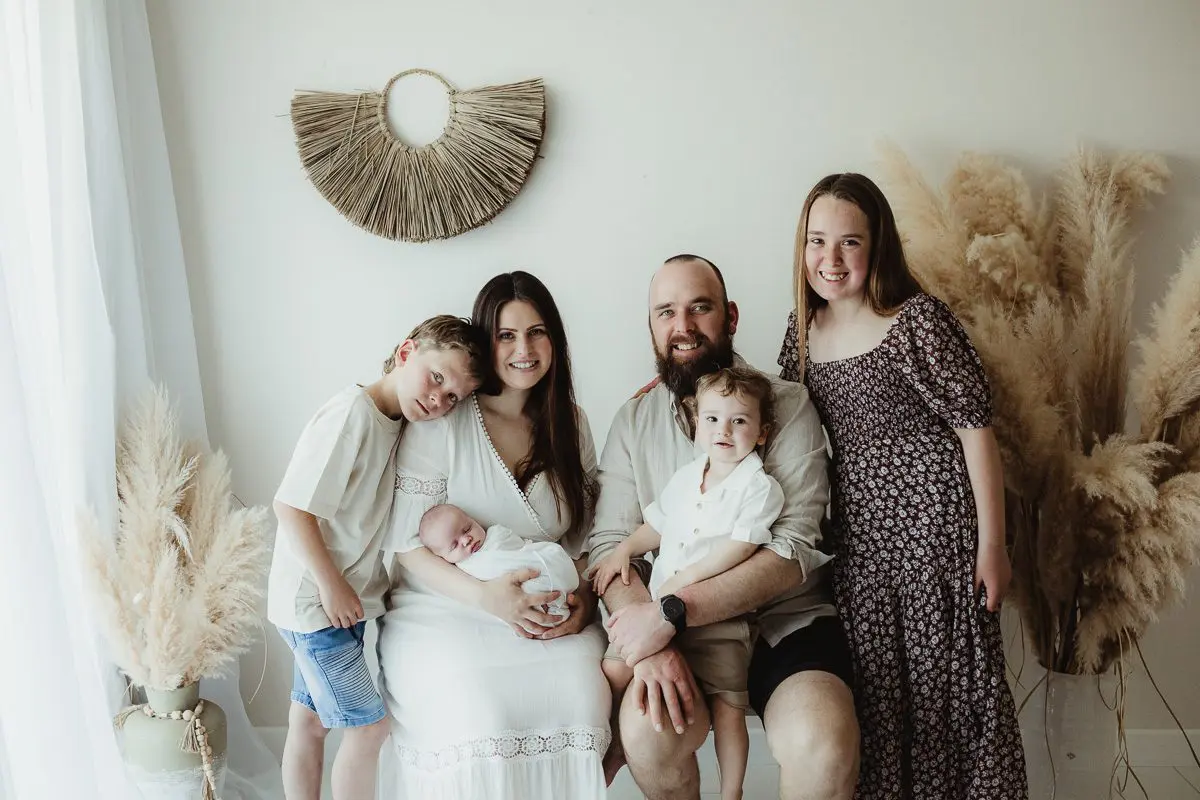
Sure here’s the post I’ve saved into a word doc so I don’t loose my draft. Here is the text and the photos copied in too (hope that’s ok 🙂) Thank you! :
Newborn Photos at Home When Your House Is Messy – Laundry Basket Hack
Your lounge looks like a bomb hit it, toys everywhere, washing on the couch, and yet you still want those soft, dreamy newborn photos everyone seems to get so easily?
I get it. I’ve been exactly there.
Most newborn photography advice assumes you have a tidy spare room or a dedicated studio space. Reality for most new mums? You’re photographing in the only room that’s warm enough, with a screaming baby, while the toddler is emptying the toy box behind you.
The good news: you don’t need to clean the house first.
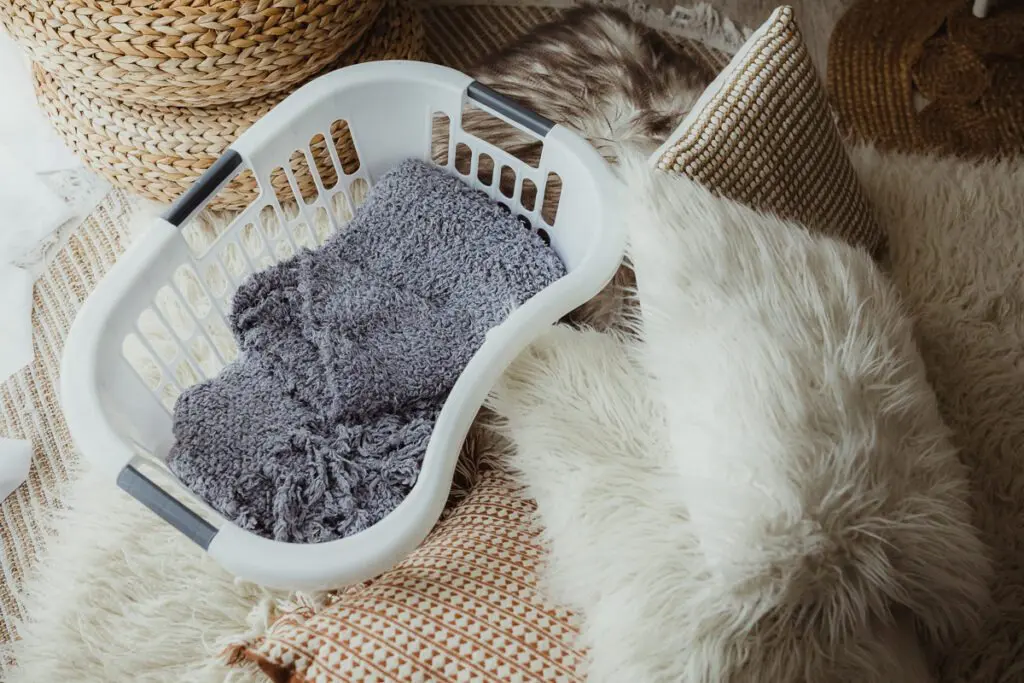
You just need one ordinary laundry basket, a couple of blankets, and some pillows you already own.
This quick setup does three powerful things at once:
- hides most of the mess in the background
- lifts the baby higher (better angles + beautiful background blur)
- creates natural depth that makes even phone photos look surprisingly professional
Let’s walk through exactly how to do it.
What you need (things you already have)
- 1 laundry basket (any shape – round, oval, rectangle – the taller the better)
- 2–3 blankets or throws (neutral colours work best: cream, beige, light grey, white)
- 2–6 pillows or cushions (to raise the basket)
- Optional extras that most people have: muslin wrap, small knitted hat/booties, soft rattle for texture
No need to buy anything special.
Step-by-step setup
- Choose your shooting spot
Pick the place in your house with the best natural light – usually near the largest window between 8–11 am or 2–4 pm (avoid direct midday sun).
Keep the room warm (around 24–26 °C) so bub stays comfortable with minimal clothing. - Build the base
Stack 2–4 pillows or cushions on the floor right in front of the window.
The goal is to raise baby in the basket 40–60 cm off the floor. Higher = more background blur + cleaner composition. - Place the laundry basket on top
Put the basket directly onto the floor around the pillow stack.
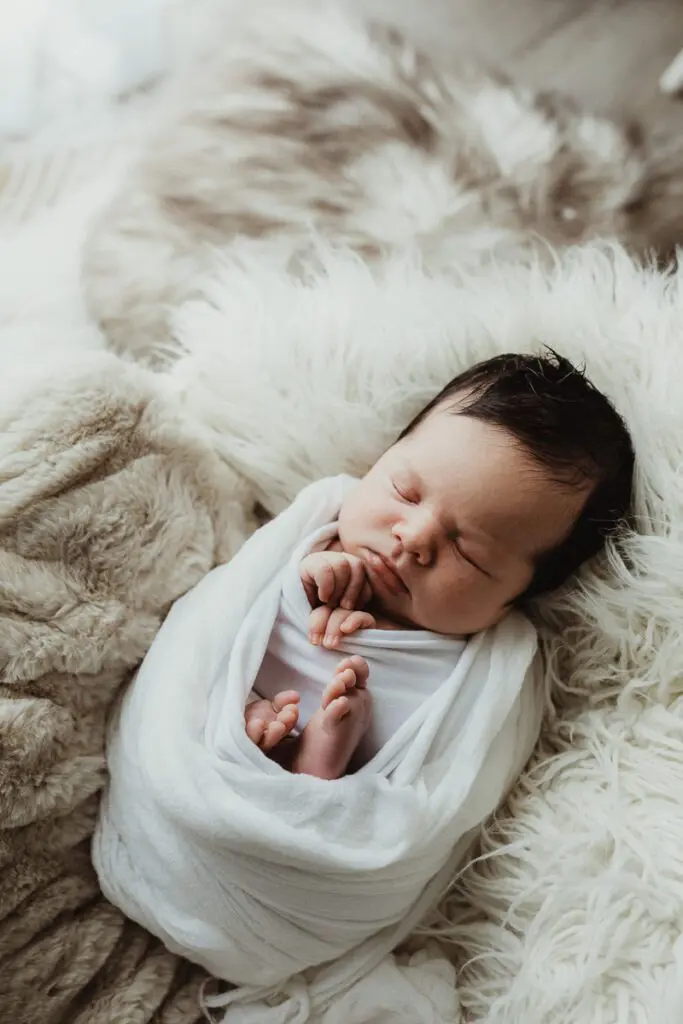
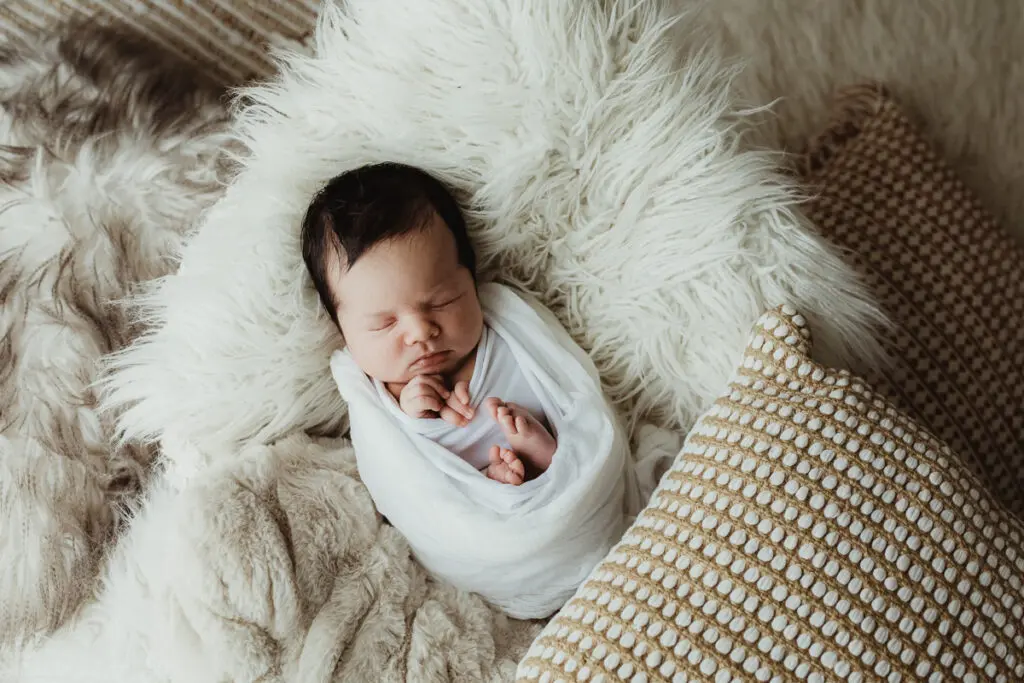
If the basket is very open-weave, lay one blanket inside first so there are no gaps showing through to the pillows. - Create the backdrop & floor
Drape one neutral blanket over the back and sides of the basket so it hangs down and covers anything messy behind it.
Drape a second blanket (or the same one folded) over the front lip of the basket and let it fall to the floor to hide any floor clutter.
You now have a clean “mini studio” island in the middle of chaos. - Add softness & texture
Line the inside bottom of the basket with a soft muslin or jersey wrap so it’s comfortable.
Optional: place a small knitted hat, booties, or a soft toy near bub for gentle texture (keep it minimal).
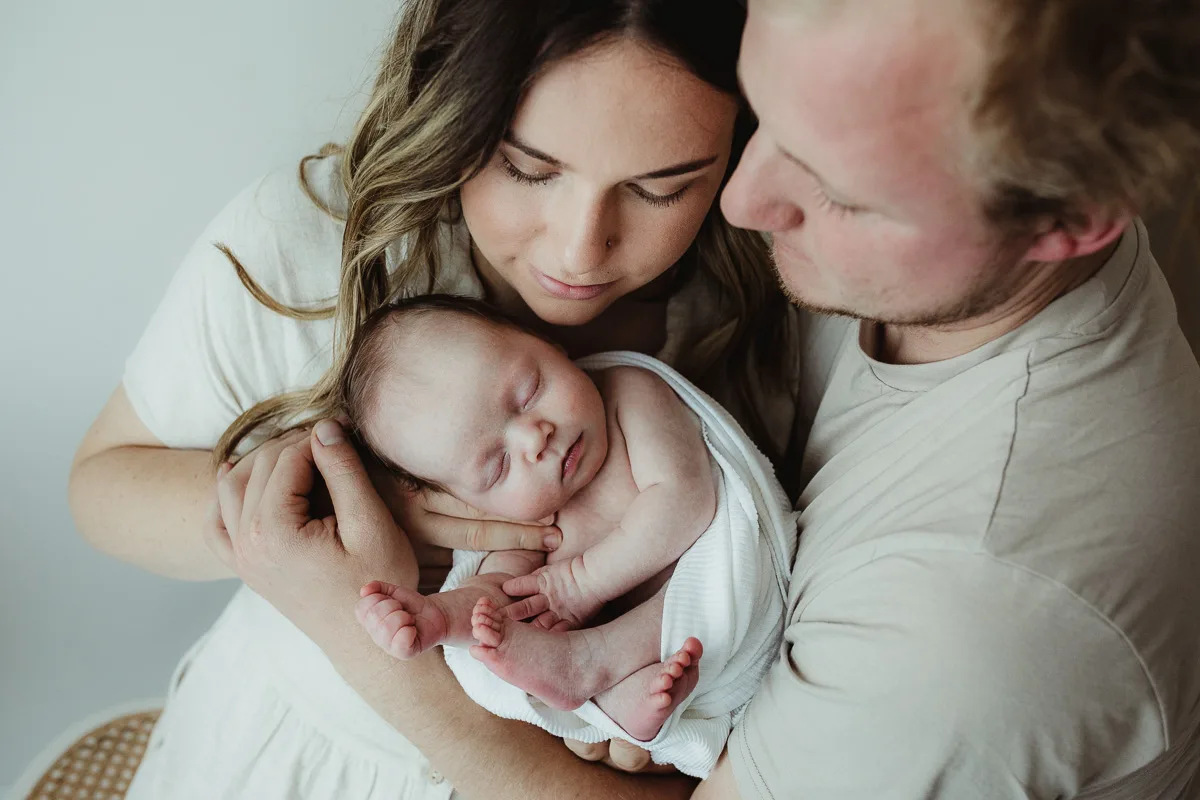
How to pose safely in the basket
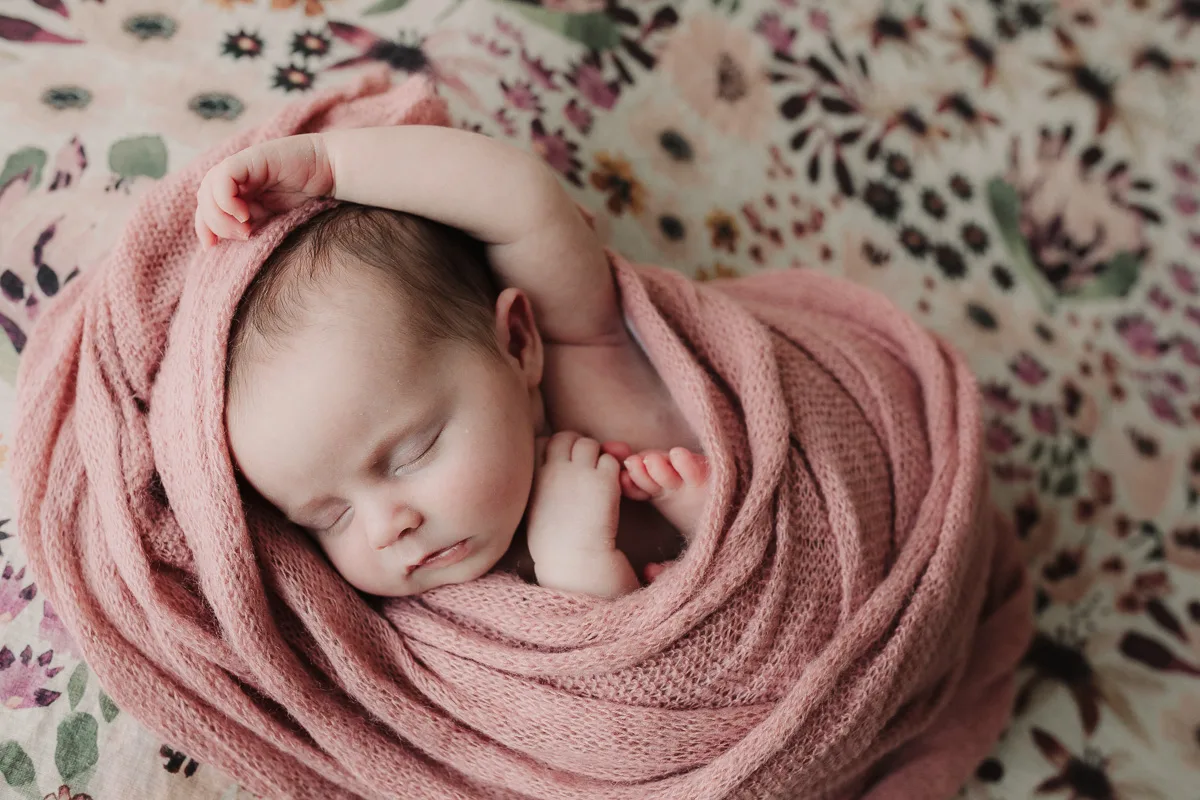
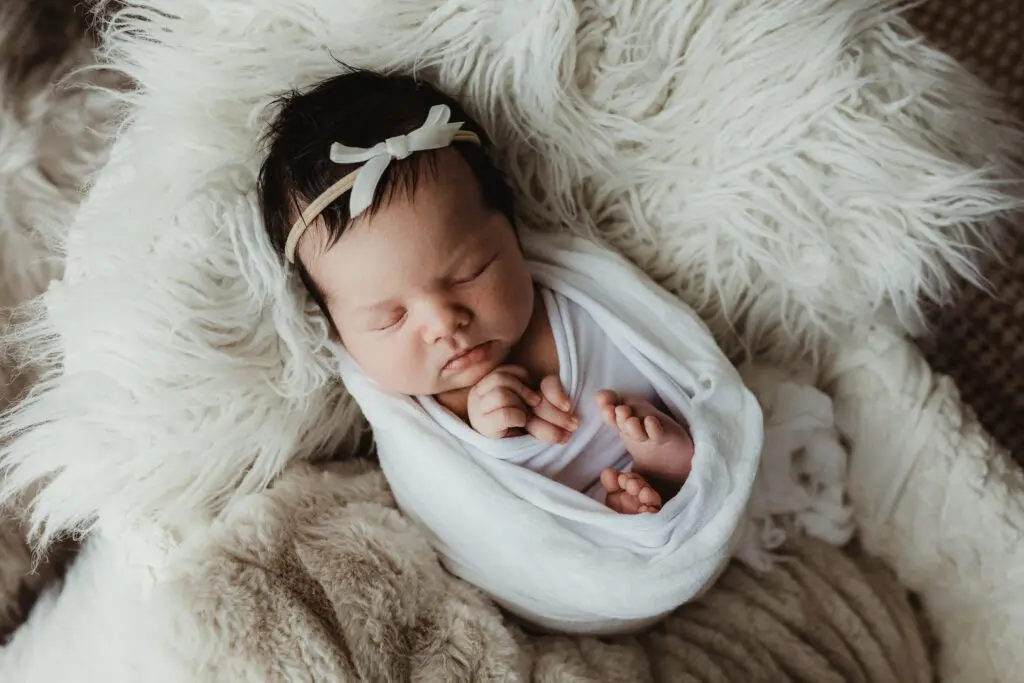
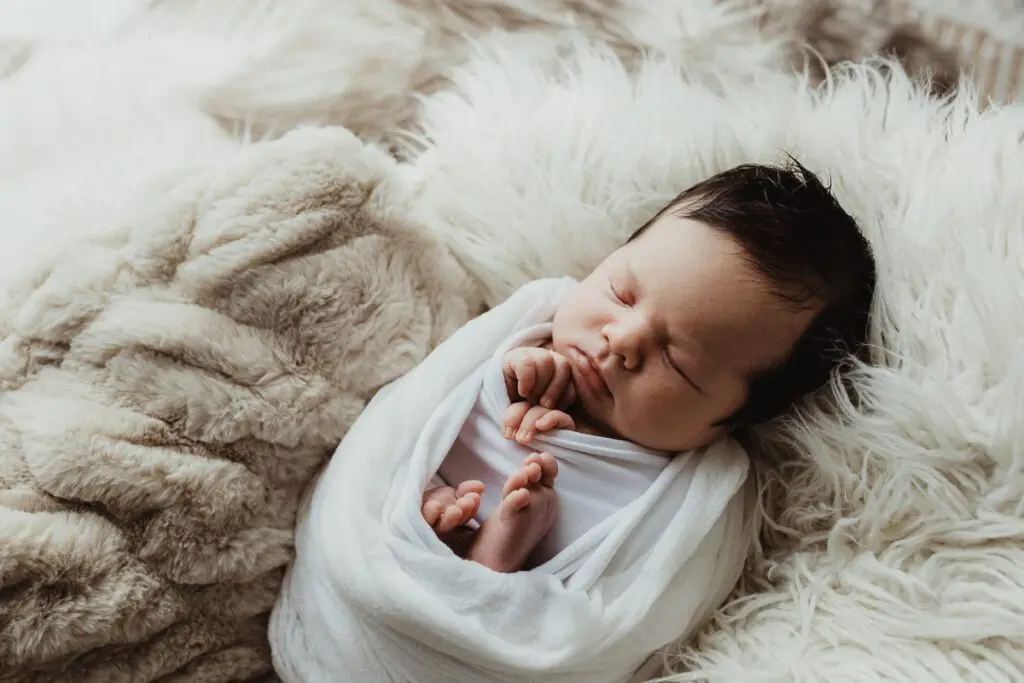
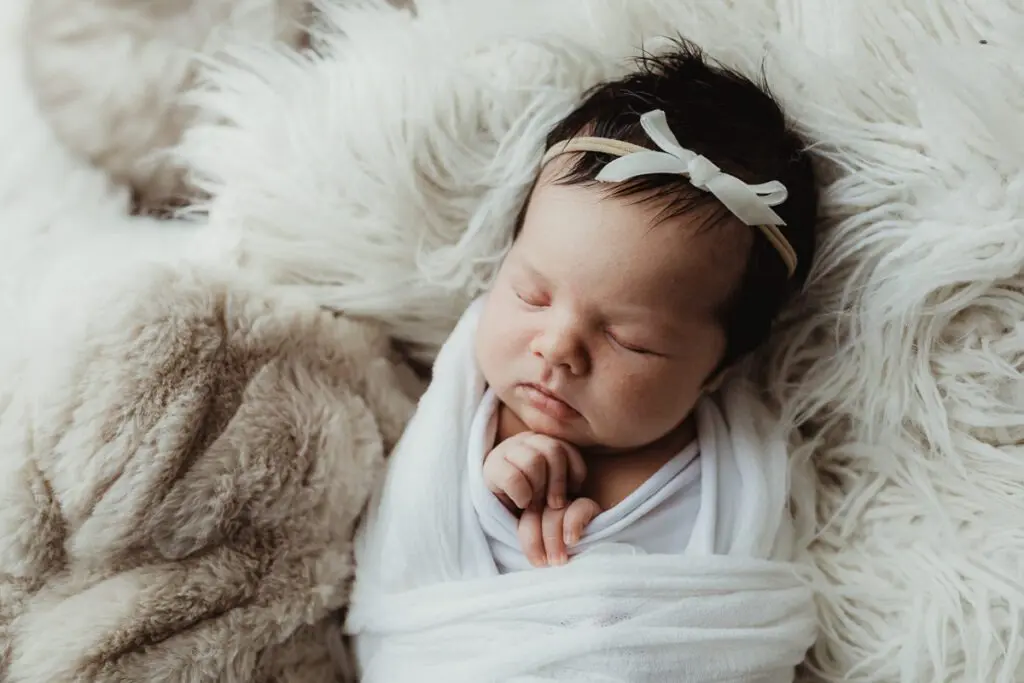
- 0–6 weeks (sleepy potato phase)
Swaddle bub snugly (arms in or out depending on startle reflex).
Place in the centre, curled on their side or back.
Use the “surrogate cuddle” wrap technique if they’re unsettled (firm jersey wrap – more on that in my free masterclass). - 6–12 weeks (slightly more awake)
Unswaddle arms if bub likes hands near face.
Place on back or propped slightly on a rolled muslin for a gentle incline.
Always have one adult hand on or very close to bub. Never leave them unattended in the basket.
Angles that give the most beautiful results
- Eye-level straight on
Most natural – shoot from the side of the basket at bub’s eye level.
Gives soft, intimate portrait feel. - Slightly above (45° angle)
The hero angle for most people.
Creates lovely roundness to the face and shows the depth of the blanket falling away. - Directly overhead
Use a step stool or stand on a chair (safely!).
Gives the classic “nest” look – very popular for albums and announcements. - Low side angle
Shoot from floor level looking up slightly.
Makes the basket look bigger and bub more angelic. Background blurs beautifully.
Quick camera/phone tips
- Use natural window light (soft side light is best).
- Portrait mode on phone for nice background blur.
- Burst mode to catch tiny yawns / hand movements.
- Edit afterwards with my free preset pack or the $27 Mobile Presets for that warm, clean look.
Final Thoughts
This laundry basket trick isn’t just a hack – it’s a mindset shift.
You don’t need perfect conditions to take beautiful newborn photos.
You need 3 things you already have: a basket, blankets, and 10 minutes of calm.
Once you try it, you’ll never wait for the house to be tidy again.
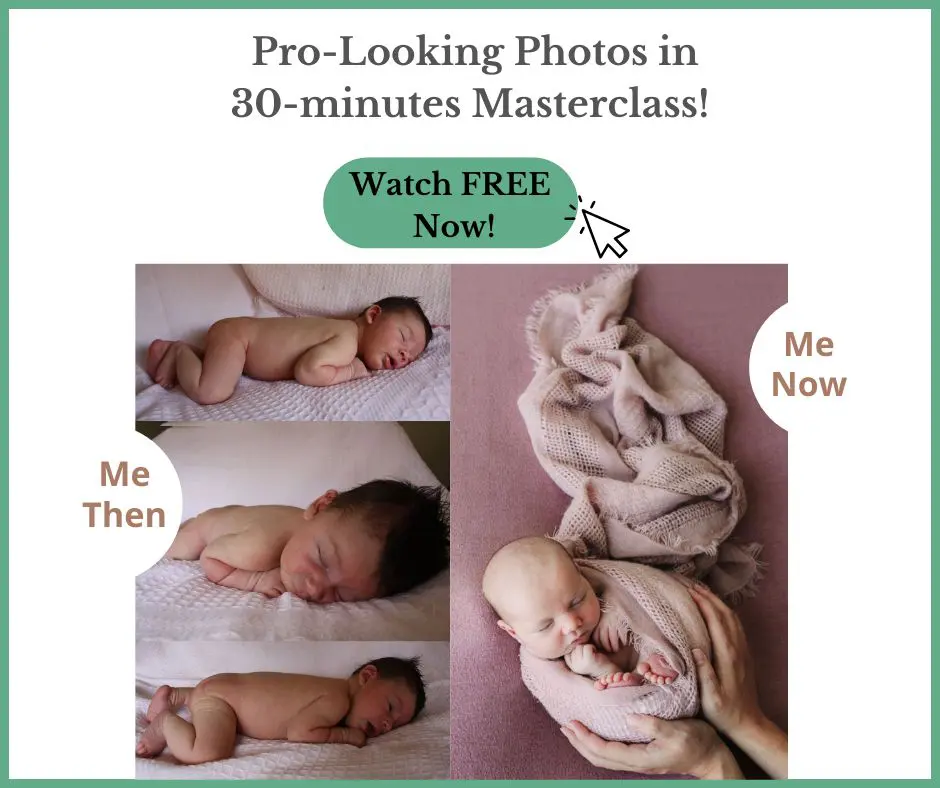
Ready to take it further?
My free 30-minute Newborn Photography Masterclass shows you exactly how I use this setup (plus lighting, soothing, and safe posing) to get client-ready photos every time.
No fluff, no gear you don’t already own.
👉 Join the free masterclass here

Want the full system (messy home survival, 0–12 month posing, settling, natural lighting for pro-looking photos every time, editing and more)?
Check out the complete $179 course (normally $359) – watch the masterclass first for the special discount.
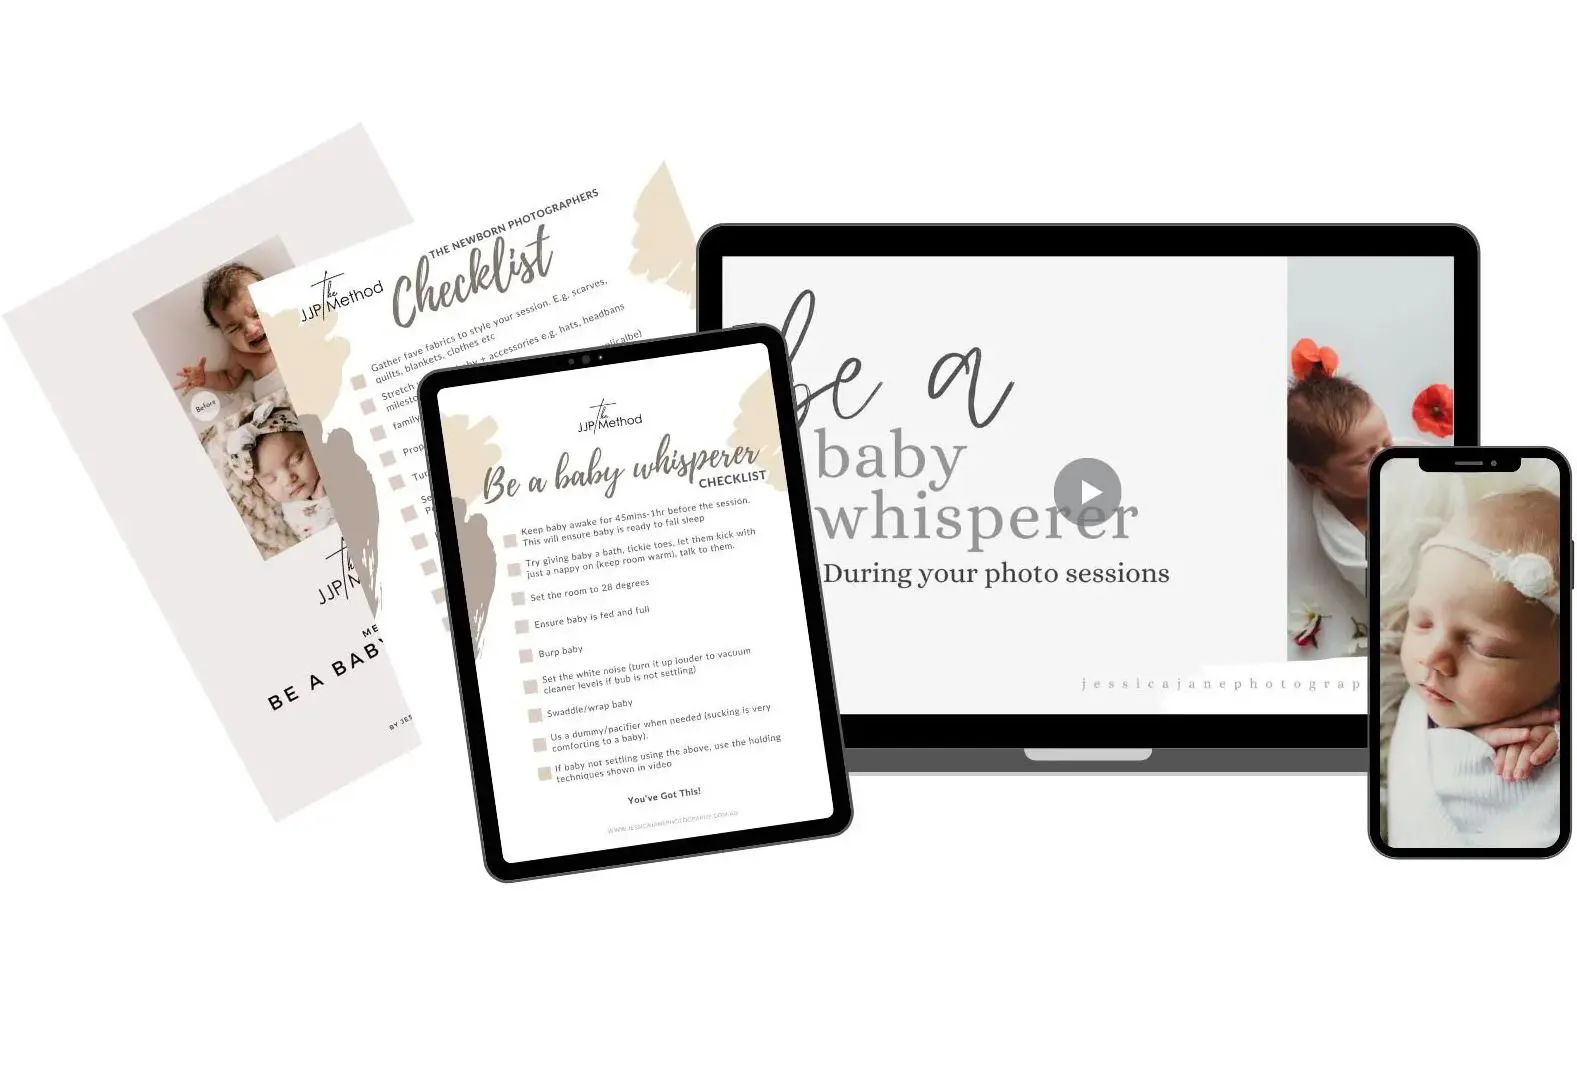
Or grab my $37 Baby Whispering Mini Course if calming fussy bubs is your biggest hurdle right now – it will change your sessions. Is an unsettled baby is stopping you from even trying or giving up – see our interview with the Australian Baby Whisperer for helpful easy tips and inspiration! You’ve got this!
You’ve got this, mama.
Messy house included. 💛